Updating a photo on your GoSite website using the website editor
Our GoSite Sites Editor tool makes it easy to add new pictures and swap out existing images on your website with just a click of your mouse. This article will teach you how to to change a photo
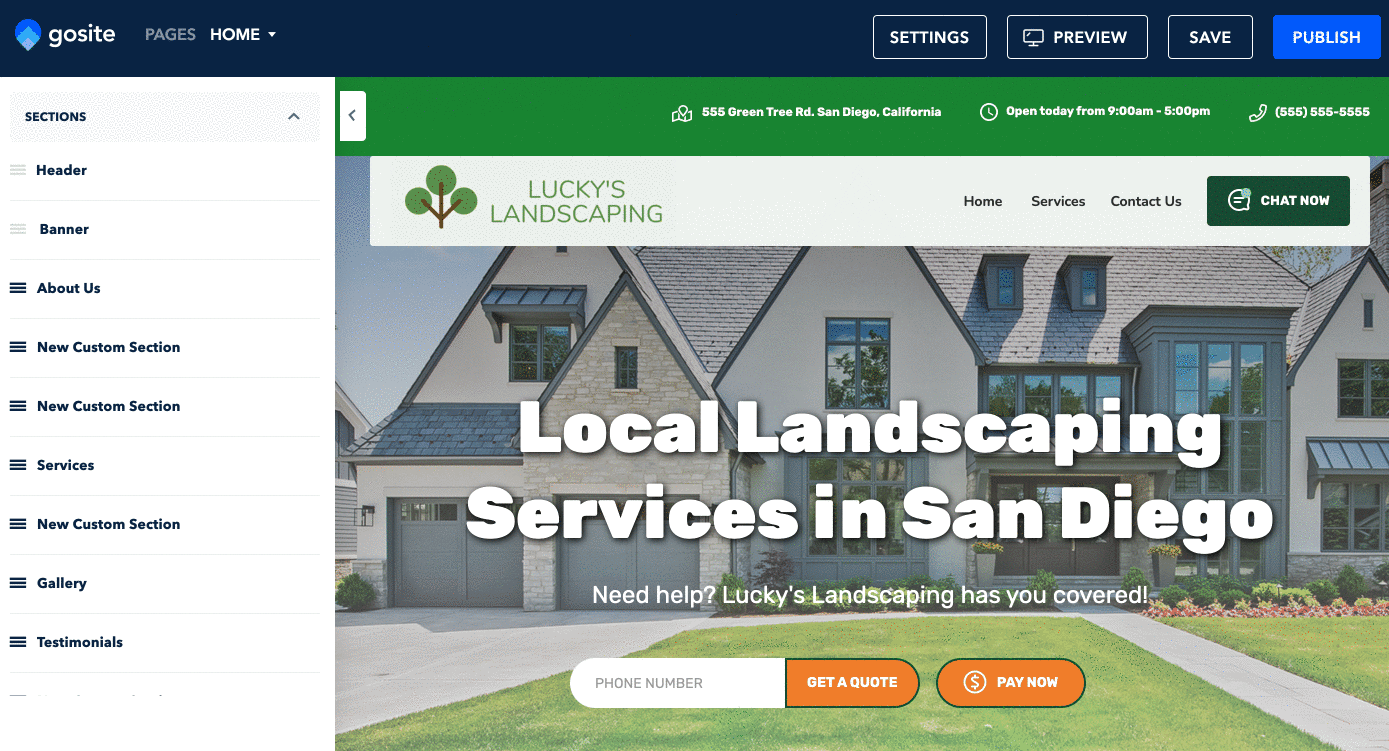
Before starting, log in to GoSite on a computer and open the website editor.
Note: The website editor is currently accessible through a desktop computer only. You cannot edit your website through the mobile app on Iphone, Android, or Tablets.
Table of Contents
Updating an image in the GoSite Sites Editor
-
Hover your mouse over the section that you would like to edit and click on the pencil icon.

-
Click on the image that you are looking to update. The menu on the left-hand side will update to show "General Settings" for that specific image.

-
Select "Change Image"

-
Select an image from your image library under "My Images", click "GoSite Images" to search for Shutterstock stock photos, or upload a new image by clicking the blue "Upload Image" button.
Note: For more information on Shutterstock images, check out this help article.
-
Once you've selected an image (there should be a blue checkmark next to the photo you chose), click "Continue".

-
Drag the corners of the yellow box to adjust the image size and click "Crop & Save". You can also use the original image sizing by clicking "Use Original."

-
Your image has now been changed. Make sure to press "Save" and then "Publish" to push your changes live!

Video Walkthrough
Below is a complete video walkthrough of the steps listed above on changing the image in the "About Us" section of this website.
Still need help?
Visit us at gosite.com to chat, or email us at help@gosite.com.